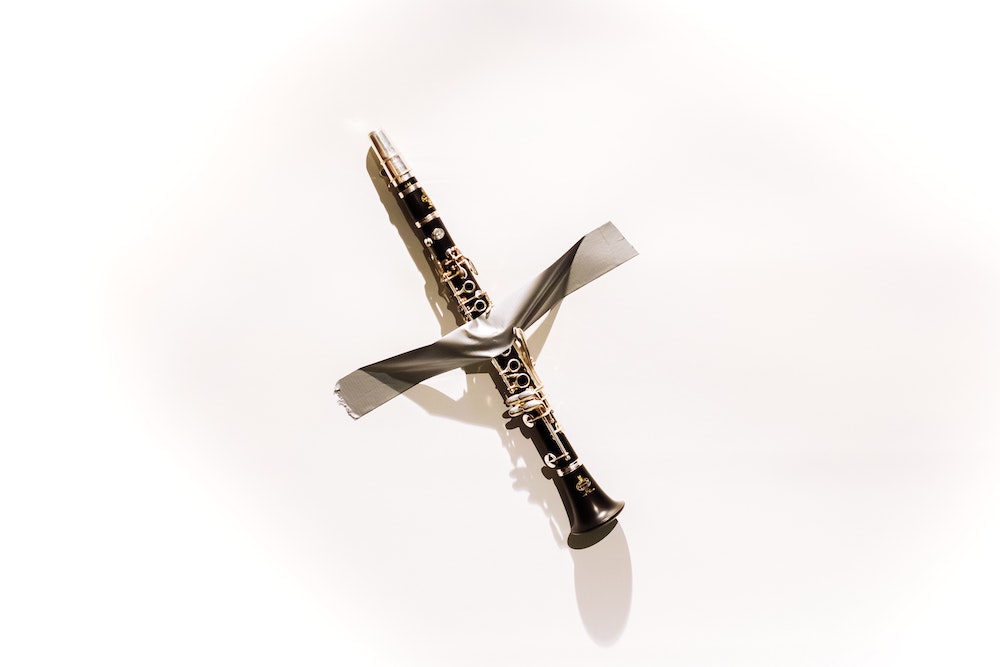
If you have a clarinet, you need a COA on a routine basis. What’s a COA, you ask? It stands for clean, oil, adjust. And when you add a P (preempt), you can better COAP with your instrument’s demands proactively (see what I did there?). Essentially, a Burke Woodwinds COA is a mini overhaul of your clarinet and is entirely worth the investment.
 What You Get with a COA: Ten steps for maintenance success
So much goes into a proper COA, well beyond the topical clean, oil, and adjust. I pride myself on being exceptionally thorough and meticulous at every step to return your instrument to you in top condition. When you bring your clarinet to me for a COA, you can expect I will go through the following 10 steps—at a minimum.
1. Complete a Comprehensive Inspection
To see every component of your clarinet, I start by taking it apart. Once it’s all laid out in front of me, I inspect every square millimeter of the keys and instrument.
2. Inspect and Clean All Keys
I start with the C in COA: cleaning. Dirty keys can lead to sluggish performance, so I first clean the keys to prevent limescale buildup. The acidity from your fingers and hands can cause the keys to wear quickly. It’s imperative to use the proper solvent for the metal when cleaning. For instance, if some metals are cleaned with anything harsher than dish soap, they can be harmed. Knowing which solvent to use for each component, and how much, is paramount!
After cleaning the keys, I seal them with Renaissance Wax or another protective coating as needed.
3. Inspect and Clean Springs
While inspecting the springs, I make sure to thoroughly clean them, which helps to prevent rust, and I replace them as needed. Not only is a broken spring a major inconvenience, but it can be debilitating in the middle of a performance!
With experience, I know if a particular spring is too short, too long, too brittle, rusted in hidden places, fitted poorly, etc. If any of those are the case, a spring could fall out of place and cause its key to stop working. Sometimes, even a spring’s diameter is either too thin or too thick within a few thousandths of an inch, resulting in improper mechanical response and reduced kinesthetic capabilities.
4. Clean Body and Bore
The cleaning part of a COA continues with the body and bore, including all wood and metal components: posts, rings, register/thumb tubes, etc. I review the body of the instrument, as well as the tone holes, inside and out, going through dozens of cotton swabs and even several toothpicks during this thorough cleaning. I also use a toothbrush and wood soap to clear the wood of residue from hand acidity/sweat, cork grease, and other substances. Many customers report added resonance to their sound after a COA, which may be in part due to this comprehensive cleaning.
5 Inspect and Clean Tenons
As I inspect and clean the tenons, I ensure there is a proper fit between each joint. Sometimes, a connection between joints can be too tight and possibly cause the clarinet to crack in several places. If the connection is too loose, it can prevent the instrument from sealing properly.
As part of a COA, I include up to two new tenon corks as needed.
6. Oil the Body and Bore
Many clarinetists are told to oil the bore of their clarinets. It wasn’t until my repair maestro taught me how to do it properly that I realized oiling should really come with the disclaimer “Don’t try this at home.” When it comes to the O in a COA, oiling is an extremely specialized process that involves:
- Cleaning the wood properly
- Letting it dry for a specific period
- Applying the correct amount of oil
- Avoiding getting any oil on the metal components of the clarinet body that shouldn’t be removed, such as posts and locking mechanisms
If these steps aren’t followed, the clarinet won’t absorb the oil and you could even damage the wood. If nothing else, you’ll end up with a slippery mess!
Some instructors and clarinetists have extreme opinions on the topic of oiling a clarinet: should you or shouldn’t you? The truth is that both yes and no are the right answers:
- Yes: Your clarinet should be oiled but only by a professional technician with extensive experience.
- No: You should not do this yourself with a store-bought bore oil, dabbing it on willy-nilly.
In my shop, I use different combinations of various types of oils depending on what a particular clarinet needs. These “recipes” were passed down through the generations, stemming from the legendary Hans Moennig. Knowing exactly when a particular piece of wood needs to be oiled – as well as what oil to use – is an acquired skill that is advanced even for the most skilled woodworking professionals. Then there are certain components of oils that work better on certain woods—clarinets can be made from multiple types of wood. Also, pads can be damaged if even a little bit of bore oil gets on them (i.e. by applying bore oil to a swab and pulling it through the instrument when fully assembled.)
7. Replace Pads and Bumpers
If needed, I install replacement pads and include up to four in a standard COA. When I see that preexisting material is falling off or causing other issues that may interfere with your playing, I’ll install custom bumpers. These bumpers help achieve the optimal tactile response for a refined technique. I continue to adjust as needed to ensure the mechanism is ideal.
8. Reassemble the Instrument
Following a full inspection and repair as warranted, I start to put the clarinet back together, oiling the mechanism with different viscosities of key oil as I go. You can prevent rust in the pivot screws and rods by having all the mechanisms in your instrument oiled at least once a year. That’s because the act of using the clarinet—blowing air through it—causes condensation to spread onto the keys. This, along with humidity even when not playing, can cause rust to build up on the springs, keys, screws, posts, thumb tube, thumb rest, and all other metal components. To prevent this rust, I put a special coating on the springs when I reassemble the clarinet.
9. Conduct a Play Test
 A visual inspection is a start, but there’s no way I can be sure the instrument is working optimally, and tailored to its owner’s playing style, without actually playing it. I enjoy adjusting the instrument to a client’s particular preferences or comparing it to another one of their instruments, since even one tiny detail can make a huge difference in their individual usage.
During the play test, I run through a specific repertoire that highlights key characteristics of the clarinet and reveals any acoustical flaws the instrument may have. By tapping into my experience as a professional clarinetist and my education at Juilliard, I ensure the response is optimal and that the timbre reflects the client’s aesthetic preferences as closely as possible. I make every instrument play as homogeneously and as effortlessly as I can. I know that there are some typical problem notes that are airy, too dark, or too bright, so I look for those.
I’ll play the instrument with several barrels and bells when I think a clarinetist will benefit from an accessory change or upgrade.
10. Complete Adjustments and Customization
The overarching component of a COA is the A: adjust. I am constantly adjusting the instrument throughout the entire process.
While play testing the clarinet (both before and after the COA), I take note of modifications that can create a sound that’s as close to perfect (in the performer’s ear) as possible, and then I consult with the customer about whether they would like such changes done. This may include reshaping tone holes for better venting and using a technique called undercutting. This improves homogeneity, response, intonation, and timbre. I also create custom tools to bevel pads and shape them to their keys to ensure they are venting properly.
I’ll also regulate the spring tensions. Oftentimes, clarinets have very heavy spring tensions as a shortcut to improperly make the instrument’s pads seal. However, this can pose a serious risk of carpal tunnel syndrome and other repetitive stress injuries. Springs also run the risk of being too light, which can cause problems with the seal of the clarinet among other issues such as uneven technique.
There are a lot of keys on a clarinet, and it’s easy to hit the wrong one so, when possible, I make sure the mechanism is well aligned to minimize these errors in playing.
You shouldn’t have to adjust to your instrument. Instead, I can adjust the instrument to you!
Why a COA and Regular Maintenance of Your Clarinet Are So Important
Unfortunately, many clarinetists are unclear about what a COA is or why it’s so valuable. It’s important to remember that your instrument is an investment, and as with anything that you invest in (your car, home, etc.), you must keep it maintained. Other wind instrumentalists such as flutists use the term COA regularly, but it’s less common among clarinet players. If you value your instrument and your ability to play to your full potential, whether professionally or in a school band, it’s time to prioritize your investment and sign up for a COA.


